
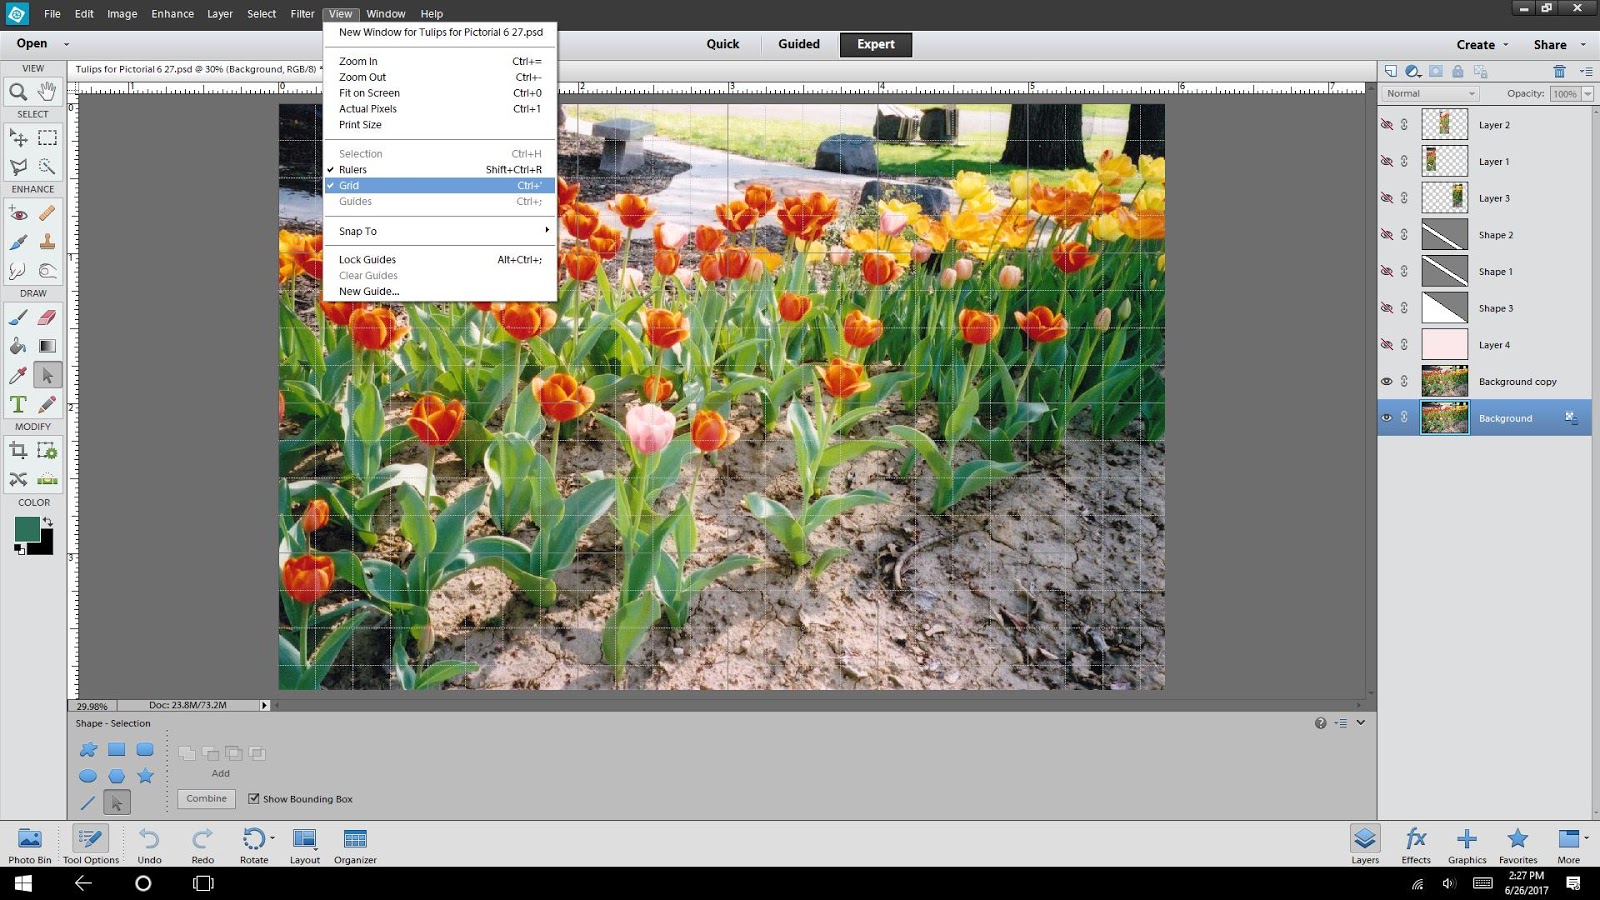
Slicing a photo is so easy. I used Adobe Photoshop Elements 12, but use the Adobe Photoshop CS programs and probably other photo software to do this. This photo is from a field of Tulips that I took some years back.
Original Photo:

Below is a fun one from my grandson's birthday.


I've added some information below on how to slice your photos.
Open the photo that you want to slice. From the drop down, choose to turn on Grid. Now decide how many grid windows you would like of your photo. Staying on the photo layer duplicate of your photo and with the rectangular marquee tool, highlight the number of scares that represent the size of your photo slices. They can all be the same or different. Once you've highlighted the first square for the first slice, do a Ctrl J and that will slice it. Now still on the photo layer, do the same for the next square you want and do a Ctrl J and that will slice that one. If doing three, stay again on the photo layer and do your last outlined square still using the rectangular marquee tool. (If your squares are hard to see at this point, you can do an Edit Stroke Outline. Once you have all your sliced squares, then turn off the photo layer and background layer and you will only have your photo slices. I then make another layer and fill it with color, a pattern paper or whatever you like. Hope this is helpful, and please let me know if you have questions.
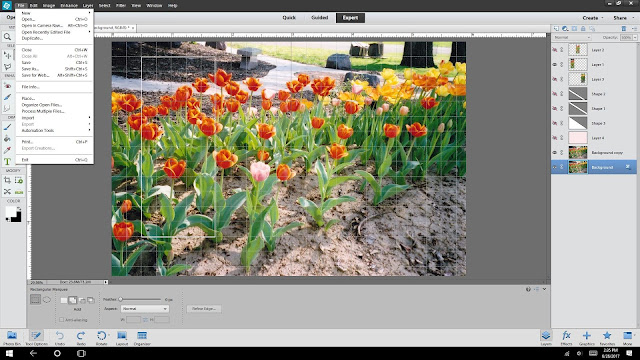
Using the Marquee Tool on your photo layer, go around the number of squares for first photo slice. Then do a Ctrl J and it will make a layer of the slice. Then go back on the photo layer and do this again with Ctrl J for next slice....then go back on the photo layer and do this again with Ctrl J for another slice.


Have fun slicing photos. :)
Now time for your photos added to Pictorial Tuesday. Thank you so much for sharing. As always, if no blog to link...just comment or say hello. Happy Tuesday.
~hugs 'n giggles 'n scribbles~
Peabea
Unfortunately, my 'old' Photoshop software doesn't work with my new notebook, so I've been doing without for almost 3 years now. I wish I can play around with it again... Nice work with the tulips!
ReplyDeleteThey look great! Love the one with your grandson and his birthday card :)
ReplyDeletewhat you share here are quite effective when you want a large image on your wall :) I like the one of your grandson :)
ReplyDeleteThis comment has been removed by the author.
ReplyDeleteThanks for hosting! I shared your party :) Great tutorial too! Love your photos. I'll get your Pictorial Tuesday button up on my blog as soon as I can. Come over and party with me on Wednesday :)
ReplyDeleteThat is a cool technique. And this is a new party for me. Nice to be here!
ReplyDelete:) gwingal
Very interesting. I might have to try it.
ReplyDeleteThanks for hosting and have a wonderful week.
Thanks for your tutorial and for being such a great hostess!
ReplyDeleteArt is always fun isn't it. Love your Golden Gate Bridge captures. It's incredible to see and so very windy!!
ReplyDeletethanks for this info - I will have to check it out. I like the effect. And thank you for the link up. I'm going to join now!
ReplyDeleteNever tried this! Thanks for the tip! have a great weekend!
ReplyDelete